Software
The JDeveloper software can be obtained from here ... then selecting the Downloads tab -> Archived Downloads -> Oracle JDeveloper 11g 11.1.1.2.0 -> Accept License Agreement -> jdevstudio11112install.exe (that constitutes the Studio Edition for Windows including JDK 6.
Prerequisites
Disable virus scanners - to make your life easier, disable any virus scanners during the installation as this will slow the install process down if the virus scanner scans each Java archive. This has from experience been a particular problem with McAfee's products, and I recommend an alternative virus scanner.
Administrative access – you'll require privileges to install software onto the local PC.
Installation
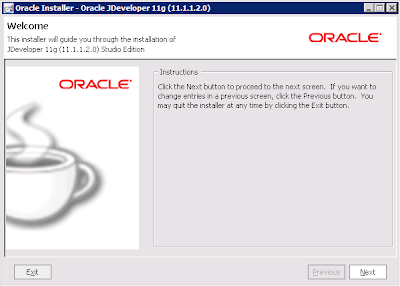
1) On the local Windows PC execute the jdevstudio11112.install.exe. This will display the Oracle Installer Welcome dialog:
 2) Selecting Next presents the Choose Middleware Home Directory dialog where you can select an existing Fusion Middleware Home directory or create a new one. It's recommended you always install each JDeveloper installation in it's own directory, so create a new directory either by typing the directory in the text box or using the Browse button.
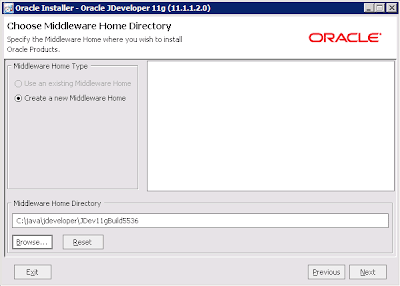 If you have multiple developers setting up JDeveloper on their local PCs, it's recommended you standardize the installation directories, and cater for multiple JDeveloper versions. In the picture above C:\java\jdeveloper\JDev11gBuild5536 reflects a separate directory for JDeveloper 11g v11.1.1.2.0 build 5536. As alternative a later version JDeveloper 11g v11.1.1.3.0 build 5560 could be installed under C:\java\jdeveloper\JDev11gBuild5560. Note to avoid cross-platform issues in the future it's recommended you standardize the capitalization of the directories too.
3) Selecting Next presents the Choose Install Type dialog, allowing you a choice between installing the full package or customising the install and dropping off components:
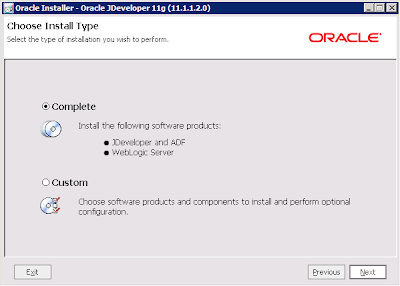 As it's unknown what future parts of JDeveloper will be required for development purposes it's recommended the Complete installation option is chosen. If you do choose the Custom option you'll be presented with the Choose Products and Components dialog:
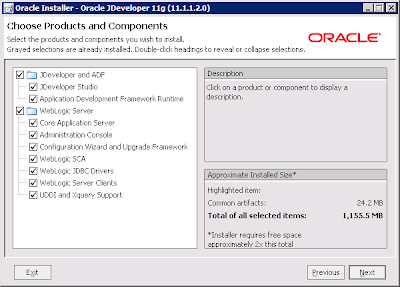 .....where you need to make you're own informed choices.
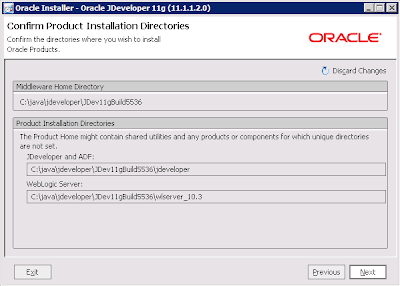
4) Next presents the Confirm Product Installation Directories dialog. Of note are the base Middleware Home Directory, and the two separate directories for the actual JDeveloper software and the separate integrated WebLogic Server:
 5) The Choose Shortcut Location dialog displayed next gives you options to create the JDeveloper Windows group either for the current user or all users on the local PC. As multiple developers may use the same PC, giving access to all users may be the preferred option:
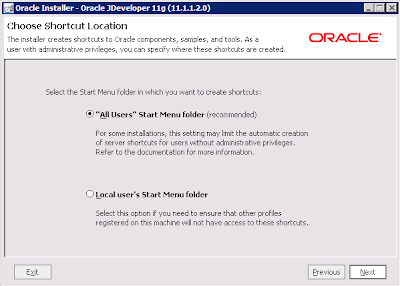 If you do choose to create the JDeveloper Windows group in all users accounts, assuming you have administrative rights on the local PC for installing JDeveloper, install at the end of this process that the installed JDeveloper files can also be run by other users on the same PC.
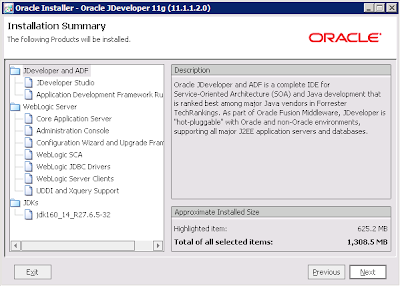
6) The Installation Summary dialog on selecting Next displays what will be installed, how much disk space will be consumed:
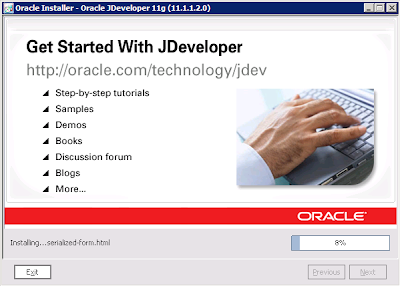
 Select Next starts the installation process:
 7) On successful completion the Installation Complete dialog will show:
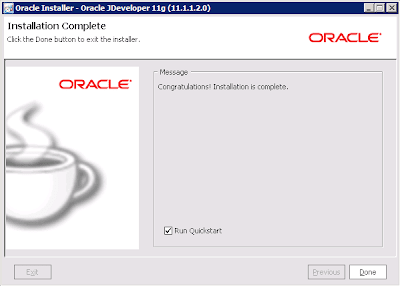 Leaving the Run Quickstart checkbox checked and selecting the Done button will close the installer and open the Quickstart program (explained in the next section). We'll assume you uncheck the checkbox and start JDeveloper separately below.
Your JDeveloper installation is now complete.
What was Installed
Post installation JDeveloper will have installed the following:
1) Under the specified installation directory the JDeveloper and integrated WebLogic Server files will exist:
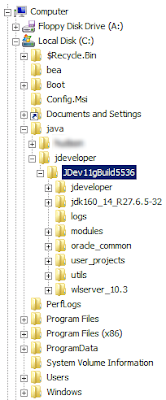 2) A new directory C:\bea will have been created if this is your first Fusion Middleware install with the file beahomelist. This text file when open reveals the installation home directory for each product installed.
3) Within the Windows Start menu a new group Oracle Fusion Middleware 11.1.1.2.0 will exist:
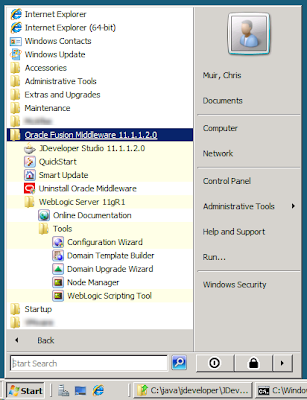 4) When you run JDeveloper for the first time it will create two sets of files under the Windows user directories for the current user. Where these are found depends on which version of Windows you're using. Older versions including Windows XP stores the files under:
a) C:\Documents and Settings\<username>\Application Data\JDeveloper\
...in that directory you'll notice a subdirectory like "system11.1.1.2.36.55.36" where the system directory numbering scheme references the version of JDeveloper and build number (e.g. version 11.1.1.2.0 and build 5536 from the example above) you've installed. Multiple versions of JDeveloper will see additional system directories created here.
b) C:\Documents and Settings\<username>\Oracle\oradiag_
....I'm not entirely sure what this directory is used for presumably capturing diagnostic information. Maybe it's enabled by selecting the "Allow automated usage reporting to Oracle" option in the following section.
If you're using a modern version of Windows the likely location for these files are:
a) C:\Users\<username>\AppData\Roaming\JDeveloper
b) C:\Users\<username>\Oracle
Running JDeveloper
You can open JDeveloper via the Windows group Oracle Fusion Middleware 11.1.1.2.0 – JDeveloper Studio 11.1.1.2.0 option. The first dialog you'll see is the loading window:
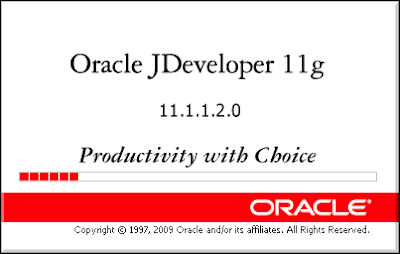 At certain points during the load JDeveloper will prompt you for more information, including:
1) The Select Role dialog will display:
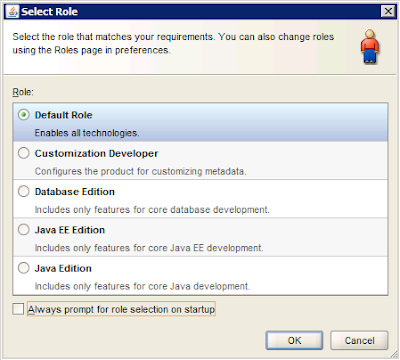 This allows you to select different developer modes for the IDE which influence which features run. As typically it's unknown what the developer will be doing in thee future, selecting the Default Role option and unselecting the Always prompt for role selection on startup checkbox are recommended.
If you wish to turn this dialog back on at a later date, it's preference is accessible via the JDeveloper menu option Tools -> Preferences -> Roles, then selecting the Always prompt for role selection on startup checkbox.
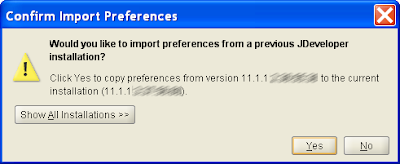
2) The first time you run a newly installed JDeveloper version, if you have previous versions of JDeveloper installed on the same machine, the installer will prompt you to migrate the user's settings from the previous JDeveloper install into the new JDeveloper install:
3) On the IDE opening for the first time it will prompt you to associate certain file types under Windows with the IDE:
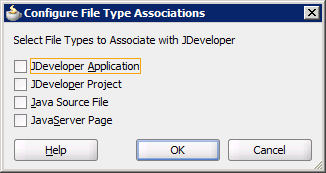 This is a personal preference left up to the reader.
4) On the IDE opening for the first time it will prompt you to report back IDE errors and crashes to Oracle Corporation:
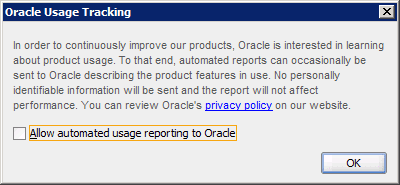 Assuming Oracle is actually gathering and using these statistics, this can be useful for improving the quality of the IDE in the future. However it may be against your organization's security policy to enable this. In addition if JDeveloper has connectivity problems in reaching Oracle's website this could also slow JDeveloper down.
5) On the IDE opening for the first time it will display a Tip of the Day:
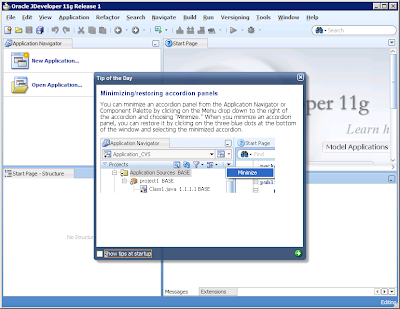 Enabling or disabling this is a personal preference left up to the reader.
JDeveloper is now running for the first time.
After sometime you might see the following "Updates are available" blue popup in the bottom right of the IDE:

JDeveloper periodically scans external plug in servers to see if there are updates available to various parts of the JDeveloper install. Blindly accepting the choices provided can result in developers having inconsistent installations, and code that will work on one developer's PC but not anothers as the wrong updates are installed. Thought needs to be given on standardizing the patches installed and if the update feature should be used at all.
Priming the Integrated WebLogic Server (WLS)
To speed up further development in JDeveloper it's useful to run and stop the integrated WebLogic Server (WLS) such that it is initialized for the first time. To do this:
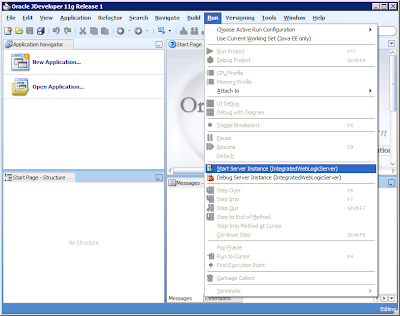
1) Select the Run -> Start Server Instance (IntegratedWebLogicServer) option:
 2) As a result in the Log window under the Running: IntegratedWebLogicServer child tab, you'll see the WLS server initialize and start for the first time:
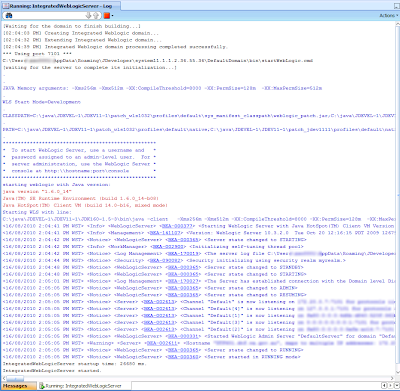 Of particular note you're looking for the <Server started in RUNNING mode> message that shows a successful initialization.
3) To stop the WLS server, in the Log window select the red box icon, then the IntegratedWebLogicServer option:
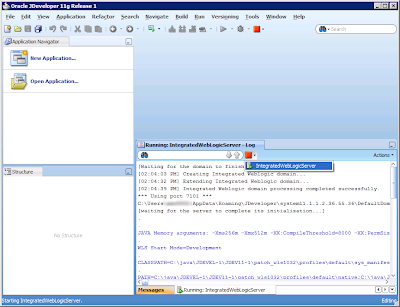 4) In the resulting Log window under the Running: IntegratedWebLogicServer child tab, you'll the WLS messages as it shuts down:
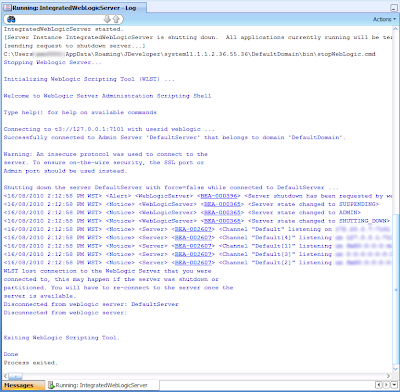 This completes the initialization of the integrated WebLogic Server.

No comments:
Post a Comment