Downloads
Oracle WebLogic Server 11gR1 (10.3.3) + Coherence + OEPE – Package Installer – MS Windows (32-bit JVM) ~ 997MB
Oracle Service Bus (11.1.1.3.0) Generic Installer for all platforms
Installing WLS 10.3.3
Run the executable wls1033_oepe111150_win32.exe
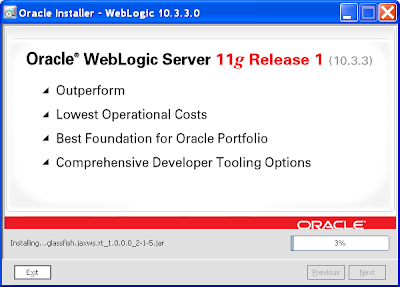
 Just in case you forgot what you ran, the WLS splash will display in all it's glory:
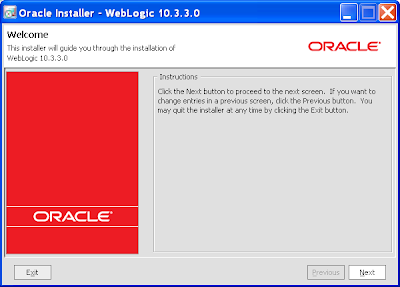
 Once the installer is ready:
 Create a new Middleware home:
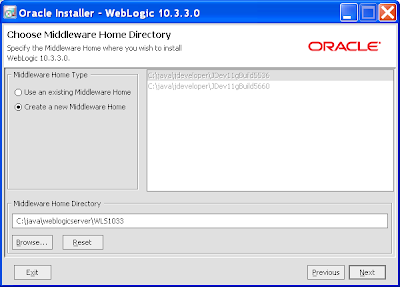 Choose to live dangerously:
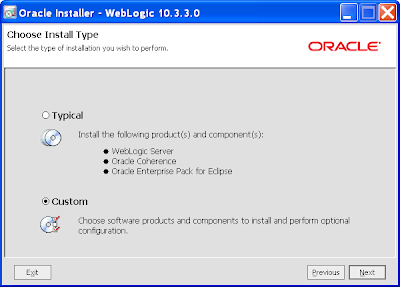
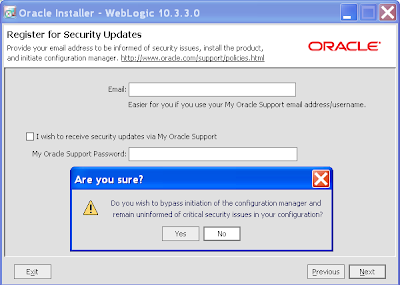 Select a Custom install:
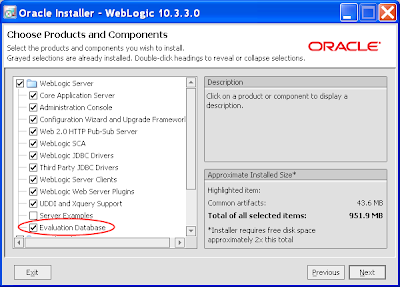
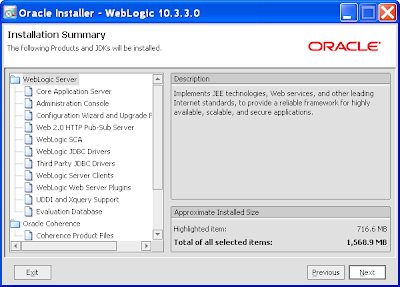
 Among the default products and components installed, ensure the Evaluation Database option is selected. This installs Derby used by the development mode OSB server for storing reports.
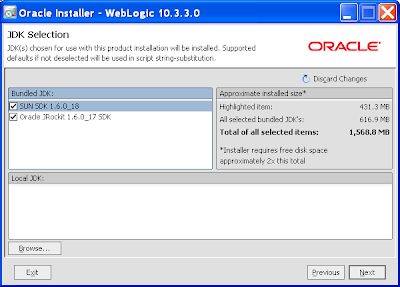
 Install both JDKs:
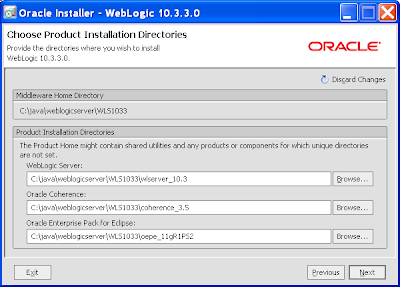
 Use default install directories:
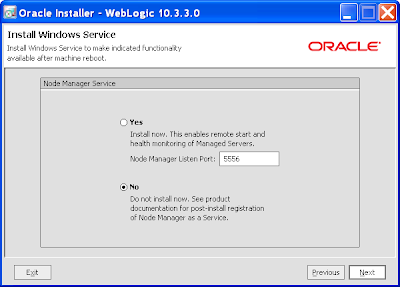
 Default node manager options:
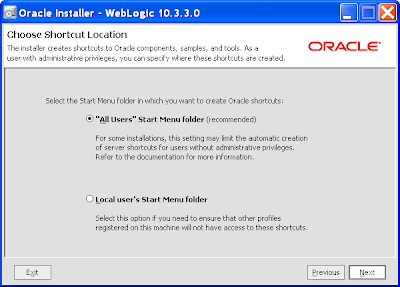
 Default shortcut location options:
 Let the fun begin:
 Watching the paint dry:
 On completion skip the Run Quickstart:
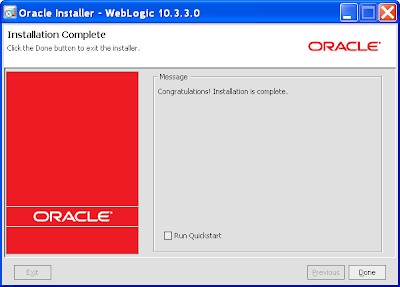 WLS installation complete.
Installing OSB 10.3.3
cd to Disk1 subdirectory
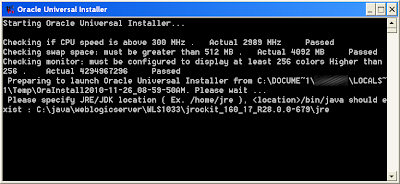
Run the setup.exe executable. A DOS prompt will display seeking the JRE location on your machine. Point it towards the JRockit JRE directory under WLS:
 Another splash screen:
 Once the installer is ready to rock n roll:
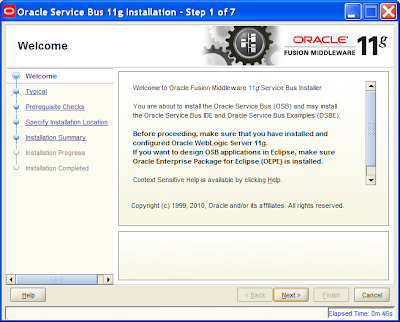 Select the Custom installer:
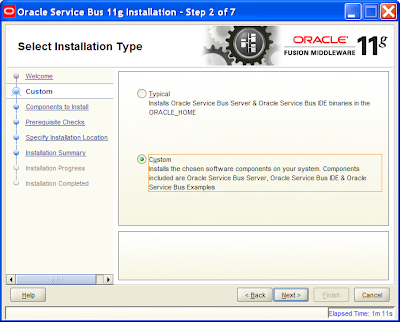 Select the default Components to install:
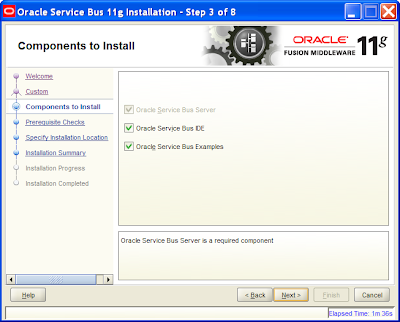 Pass the prerequisite checks:
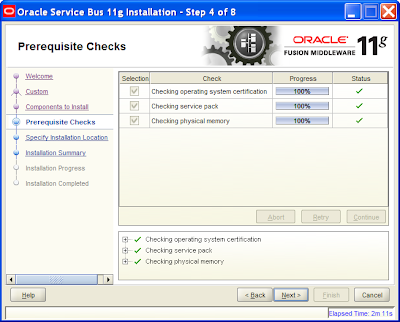 Change the Oracle Middleware Home to your new WLS home setup in the last section:
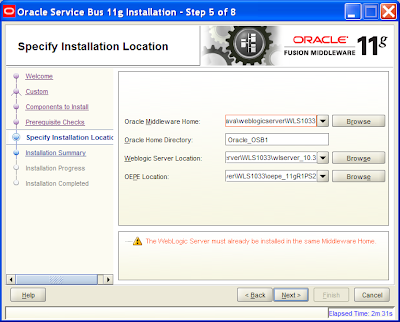 Let's kick ass!:
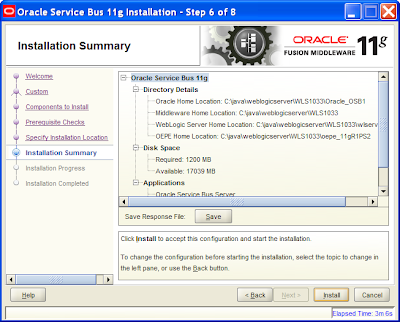 Coffee time!:
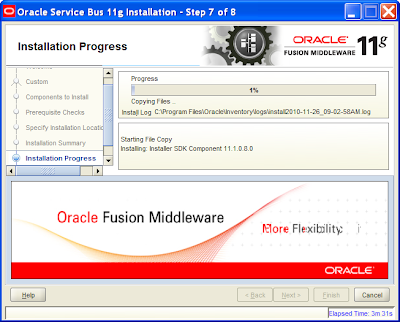 Glory days are here again:
 Create and configure the WLS Domain
Under the Windows Start Menu, select Oracle WebLogic -> WebLogic Server 11gR1 -> Tools -> Configuration Wizard
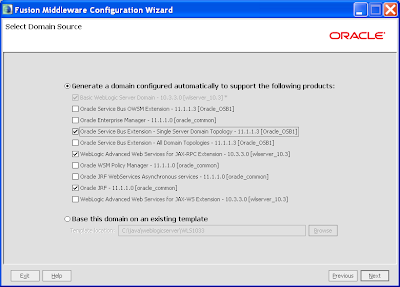
Select the Create a new WebLogic Domain option
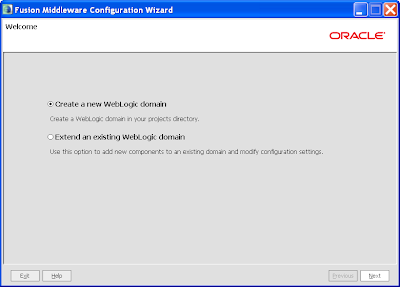 Select the Oracle Server Bus Extension – Single Server Domain Topology (suitable for dev mode OSB). This will also select the WebLogic Advanced Web Services for JAX-RPC Extension and Oracle JRF options:
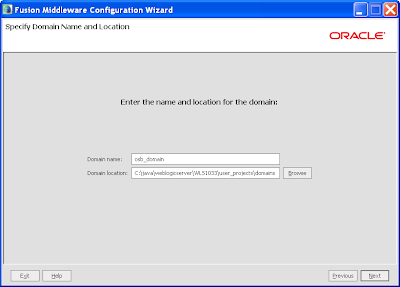
 Define the domain name:
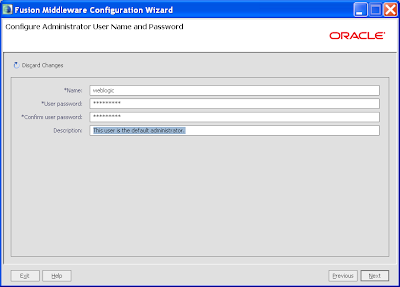
 Set the admin user name and password:
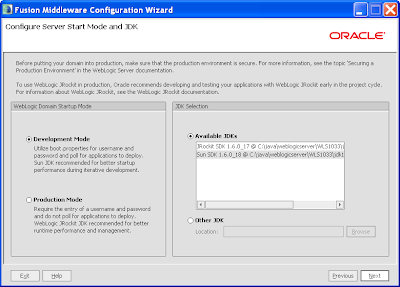
 Specify development mode and select the Sun JDK (satisfactory for development mode OSB):
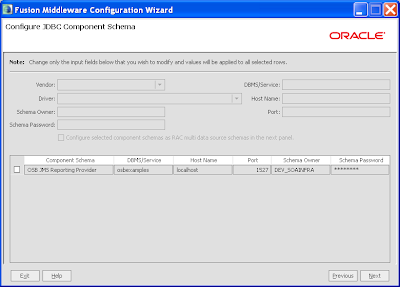
 Leave the default option here. This provider will connect to the Derby database as installed in the WLS server, and is used for reporting:
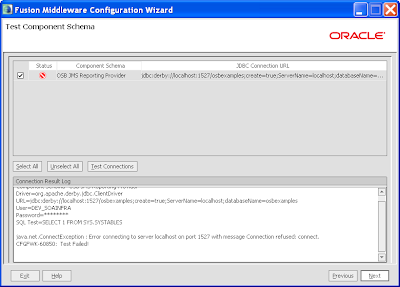
 As the WLS server isn't running, the following test of the previous provider will never succeed, the error can be ignored:
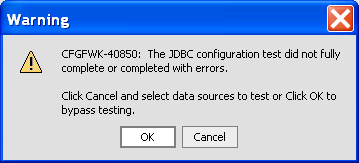
 Also ignore the resulting dialog, click Ok:
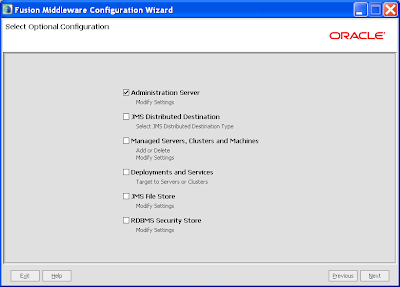
 Leave the defaults except the Administration Server option:
 Use the default Administration Server options:
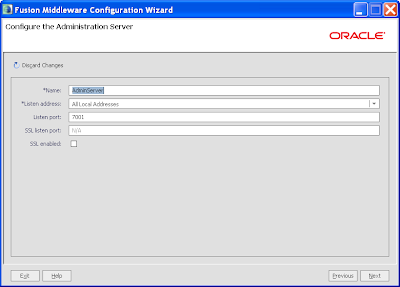 Let the fun begin:
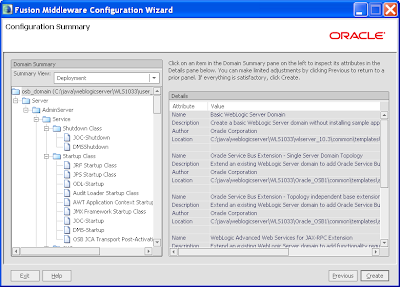 Coffee time again!:
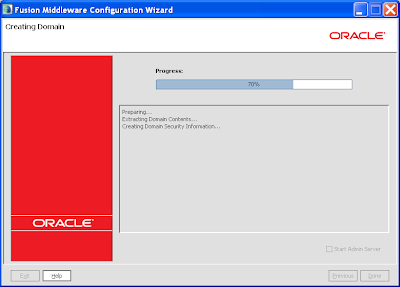 On completion leave the Start Admin Server box unselected, and select done.
Starting the WLS server
Via the Windows Start Menu select Oracle WebLogic -> User Projects -> (your domain name) -> Start Server for Oracle Service Bus Domain
This will launch 2 DOS windows, one starting WLS (which will take sometime to start), where you need to wait for the RUNNING message:
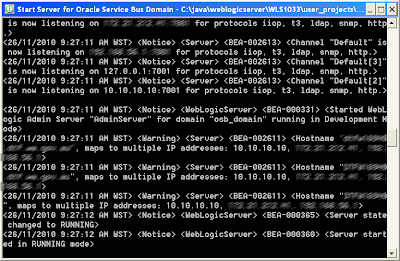 ....and in the other Window starting Derby:
 Entering the OSB Console
Via the Windows Start Menu select Oracle WebLogic -> User Projects -> (your domain name) -> Oracle Service Bus Admin Console
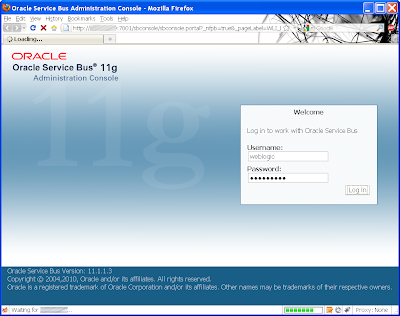
In the resulting browser window login using your WLS admin account and password:
 And finally the OSB console will be displayed:
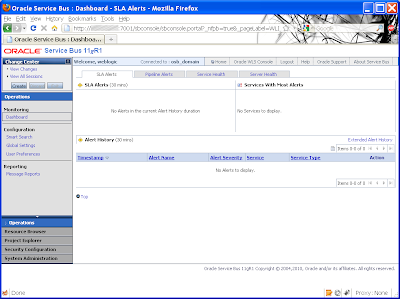 Voila!
Addendum
Coincidentally about 3 minutes after I posted this blog entry, I discovered Peter Paul had completed something similar last week. Doh!

No comments:
Post a Comment